
Backing around a corner is no longer a mandatory exercise in the standard UK car test, although it was historically one of the three possible reversing exercises, and it remains a vital low-speed control skill you may still be asked to perform or encounter in real life. The legal framework still recognises reversing right or left around a corner under Schedule 8 of the 1999 regulations, provided the driver stays within the correct traffic lane.
You're sitting at a junction on test day, waiting for the examiner's next instruction. Perhaps you've practised a neat sequence of mirror checks, a steering reference point and a carefully chosen stopping position. Then the examiner selects a corner that doesn't quite match your practice road. There's a parked car opposite, the road slopes slightly and a cyclist appears just as you begin to move.
That's where memorised mechanics stop being enough. Backing around a corner is a hazard-management exercise, not a test of whether you can turn the steering wheel while reversing.
Table of Contents
- Understanding the Current Test Requirements
- Positioning and Initial Observations
- Mastering Steering and Speed Control
- Common Examiner Faults and How to Avoid Them
- Adapting to Real-World Hazards and Vehicle Types
- Building Confidence Through Structured Practice
Understanding the Current Test Requirements
Backing around a corner is no longer a mandatory exercise, though many learners still encounter it during the test. The current test places more weight on whether you can control a vehicle safely in changing conditions than on reproducing a fixed steering routine. The DVSA guidance on improvements to the driving test explains the broader standard behind reversing exercises, including effective control and proper observation.
Understanding how marks are allocated on the DVSA practical test mark sheet helps you prioritise where improvements matter most. Our guide to reading the driving test mark sheet explains how faults are recorded and assessed.
The exercise still earns its place in training. Reverse parking, pulling up on the right and reversing, and other manoeuvres require the same underlying skills: low-speed control, accurate steering, safe positioning and continuous observation. A corner may be clear during practice, then become unsuitable when a cyclist, pedestrian or parked vehicle changes the available view.
The legal position also matters. Schedule 8 of the Motor Vehicles (Driving Licences) Regulations 1999 retains reversing in a straight line and reversing right or left around a corner as manoeuvres a candidate may be required to perform, while keeping within the correct traffic lane. The legislation covering reversing around a corner supports continued instruction in the skill, even though test selection and manoeuvre requirements have changed.
What the examiner is really assessing
The examiner is not waiting for one memorised steering point. They want evidence that you can:
- Control the car: Move slowly and steadily without stalling, surging or allowing steering accuracy to deteriorate.
- Observe properly: Check beyond the kerb for pedestrians, cyclists, vehicles, obstructions and the area swept by the front of the car.
- Position sensibly: Keep within the appropriate lane and avoid finishing at an unsafe angle.
- Respond to change: Stop if the view alters or another road user approaches, then reassess instead of continuing because a reference point says to do so.
A quiet practice corner exposes weaknesses that appear elsewhere. If you focus on the kerb rather than the whole road, reversing from a driveway or entering a narrow parking area becomes harder. The manoeuvre remains useful because it brings several driving skills together while giving you time to stop, reassess and choose a safer response.
Positioning and Initial Observations
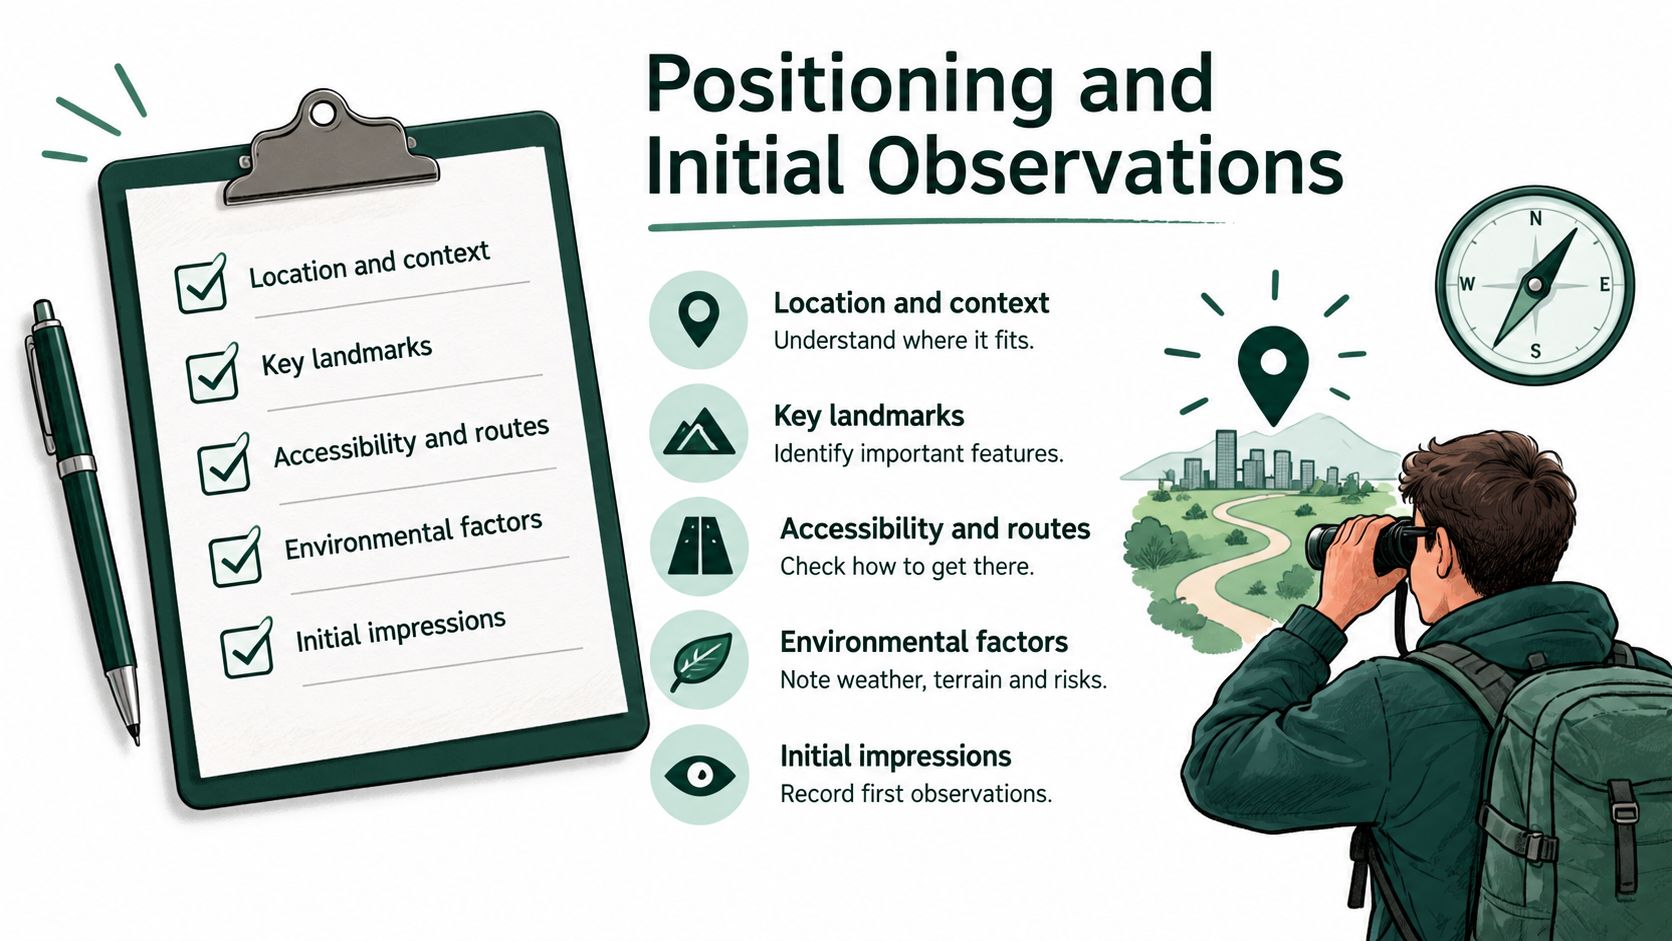
Before selecting reverse, put the car in a position that gives you room to work. Choose a quiet, suitable side road where the manoeuvre can be completed without creating unnecessary risk. Stop before the junction, secure the vehicle and take time to build a complete picture of what's around you.
Set the car up before moving
Use a simple preparation sequence:
- Stop with space to reverse. Don't leave the car awkwardly close to the junction or at an angle that forces an immediate steering correction.
- Secure the vehicle. Apply the handbrake as needed, select reverse and prepare the controls before releasing the car.
- Scan all around. Look through the rear window, check both mirrors, inspect blind areas and assess the road you're entering.
- Check the front swing. As the car turns, its front moves outwards. A pedestrian, cyclist, wall or parked vehicle can be outside your rearward view but still within the car's path.
- Move only when the picture is safe. If you can't establish what's happening around the corner, wait or choose another location.
Blind-spot checks aren't a ceremonial movement of the head. They're designed to find the person or vehicle that mirrors can't show you. The guide to checking blind spots is useful because it reinforces the difference between looking at a mirror and checking an area the mirror doesn't cover.
The Highway Code requires drivers to look for pedestrians, cyclists, other vehicles and obstructions when reversing. It also warns that the front of the vehicle swings out during steering and advises drivers not to reverse farther than necessary. Those checks should happen before the car moves and continue throughout the manoeuvre, not just at the beginning.
Practical rule: If your observation has gone stale because you've paused, changed direction or lost sight of a vulnerable road user, stop and check again before continuing.
The stopping position is only a starting point, not a magic measurement. A broad, gently curved junction gives you a different view from a narrow, sharp corner. A parked van can hide the road completely. Treat the layout in front of you as the deciding factor, then move when the conditions are safe rather than following a fixed turn-point rule.
A short demonstration can help you visualise how observation and vehicle position work together. Watch it only as a supplement to supervised practice, because a video can't show you what's approaching on your own road.
Mastering Steering and Speed Control
The physical skill is straightforward when the car moves slowly enough for you to think. Reverse at walking pace or slower, using the control that gives you the finest speed adjustment. In a manual, that usually means finding a stable clutch position and using the foot brake when necessary. In an automatic, gentle brake control provides the restraint, so the car doesn't creep faster than your observations can manage.
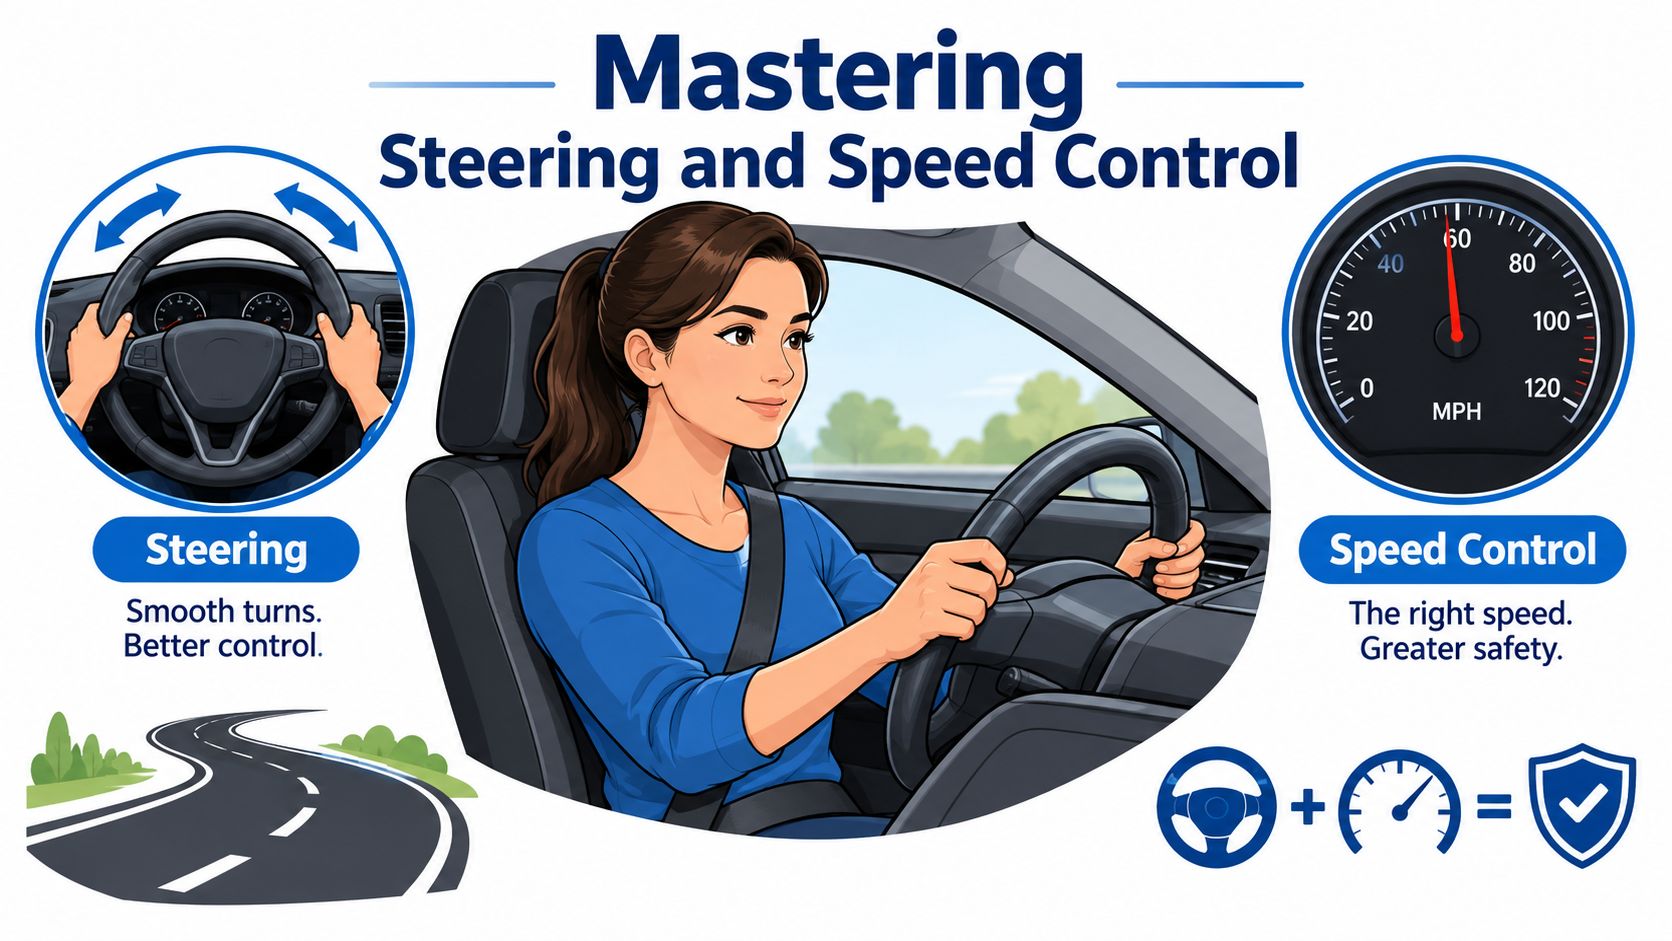
Begin by reversing with the steering reasonably straight. Watch the developing corner through the rear window and use the relevant mirror to judge how close the rear of the vehicle is to the kerb. Don't turn sharply just because you've reached a familiar point on the road. Start steering progressively as the corner develops and the rear of the car needs to follow the new road.
Use your eyes to guide the car
Your vision should move between several areas:
- Rear window: Shows the broad direction of travel and helps you detect people or vehicles behind.
- Mirrors: Help you monitor the kerb, the road edge and the car's position relative to nearby objects.
- Blind areas: Reveal hazards that aren't visible in the mirrors.
- Front area: Confirms that the outward swing isn't creating a new risk.
Staring at the kerb is one of the most common ways learners lose control of the situation. They may keep the rear wheel close to the edge but fail to see a pedestrian entering the road or the front corner swinging towards a parked vehicle. A safe path is more important than an impressively close path.
As the rear enters the side road, unwind the steering smoothly so the vehicle follows the new direction. The correct amount depends on the corner, vehicle length and road width. A square corner may need more steering than a gentle curve, while a narrow road may leave little room for correction.
Know when to stop
Your ability to stop is part of the manoeuvre, not an interruption to it. If a cyclist approaches, a pedestrian steps towards the junction or an oncoming vehicle appears, stop promptly and allow the situation to resolve. If visibility becomes uncertain, stop, secure the car and make another observation cycle.
A technically neat reverse can still be unsafe if the driver continues through a developing hazard. Examiners aren't looking for a car that never pauses. They're looking for a driver who recognises when continuing would be unreasonable.
The best steering reference point is the one that helps you respond to the road in front of you. It must never override observation.
Avoid corrective shunts whenever possible, but don't refuse a safe correction because you're trying to protect a memorised sequence. If you end up at an acute angle or too far from the kerb, stop, reassess and correct only when the surrounding road users are accounted for. Smooth control matters more than speed or theatrical steering accuracy.
Common Examiner Faults and How to Avoid Them
Corner-reversing faults usually fall into two connected groups, control and observation. A learner can receive faults in both areas when the evidence supports both. Poor clutch control may cause the car to mount the pavement, while inadequate observation may explain why the driver failed to react before it happened. For a complete breakdown of fault categories and scoring, see our guide to understanding driving test faults.
The DVSA guide to assessment and marking includes poor co-ordination of the controls, brushing or scrubbing the kerb, mounting the pavement, stalling and reversing out into the road. It also separates ordinary driving faults from serious or dangerous faults according to the risk created. The same steering mistake can therefore have different consequences depending on what happens around the vehicle.
Control faults
Scrubbing the kerb normally means the rear wheel has tracked too tightly, the steering was applied too sharply or the speed was too high for the turn. Going wide after the corner can point to late steering, weak preparation or an attempt to avoid the kerb without accounting for the front swing.
An acute finishing angle creates a separate problem. The car may be off the main road but still badly placed for the next movement. Reduce speed, reassess the available space and make smaller steering inputs. Spinning the wheel quickly rarely solves a poor position.
A correction is safer when it responds to the road rather than protects a memorised sequence. Stop if necessary, check the surrounding area and only then adjust.
Stalling is not automatically a serious fault. Its significance depends on the result. A calm recovery in a safe position is assessed differently from a stall that leaves the car rolling, blocks the junction or puts another road user in its path.
Observation faults
As noted in the positioning section, mirror-only checking is inadequate. Examiners expect the driver to turn and check blind areas before moving, while keeping the junction, road being entered, following traffic and front swing under consideration.
The practical test is about risk management, not completing a fixed steering routine. A blocked view, an approaching cyclist or a pedestrian near the corner can change the correct action from continuing to stopping. If the view disappears behind a parked vehicle, pause rather than assume the space remains clear.
Use practice to identify the point at which a fault begins. If the car starts drifting wide, stop before the position becomes unsafe. If a developing hazard changes the situation, stopping and reassessing demonstrates better judgement than pressing on to preserve a smooth-looking manoeuvre.
Adapting to Real-World Hazards and Vehicle Types
No two corners have the same geometry or the same risk. A tight left-hand corner with a parked vehicle opposite may require a wider initial view and more patience than a broad, empty junction. A wet road can reduce your margin for abrupt control inputs, while a narrow street may leave no comfortable route around an obstruction.
The DVSA examiner guidance on reversing and observation emphasises that observation must account for the junction, signs, following traffic and other road users. That principle is more useful than memorising where a particular mirror should show the kerb.

Consider the hazard before deciding how to proceed:
- A blocked corner: Stop before committing to the turn. If you can't see around the obstruction, wait for a clear view or choose a safer place.
- A cyclist approaching: Stop and give the cyclist time and space. Don't expect them to predict your path or squeeze past the front swing.
- A pedestrian appearing suddenly: Stop immediately if continuing would bring the vehicle close to them. Reassess only when the person is clear.
- A wet or sloping road: Reduce the speed further and use gentle control inputs. A car that feels stable on a dry, level road may respond differently when grip or rolling resistance changes.
- A narrow or acute corner: Accept that the ideal path may require a pause or correction. Keeping within the lane remains important, but completing the manoeuvre quickly doesn't.
Manual and automatic cars demand different footwork. In a manual, clutch control helps maintain a very low speed, but lifting the clutch too far can make the vehicle surge. In an automatic, the brake controls the creep, and releasing it too readily can produce more movement than expected. The steering and observation standards don't change with transmission.
The safest response to uncertainty is simple: stop, secure the car, observe again and proceed only when the route is clear. A fixed steering sequence can't account for a cyclist, a blocked view or a vehicle that handles differently from the one in which you learnt.
Building Confidence Through Structured Practice
Practise on a quiet, suitable side road first, then vary the conditions rather than repeating one identical corner. Work on a gently curved junction, a sharper corner, a narrow road, a slope and a location where parked vehicles affect visibility. Each variation teaches you to read the environment instead of waiting for a familiar reference point.
Keep the practice objective clear. One session might focus on stopping and completing observations without rushing. Another might focus on holding a stable walking pace, while a later session tests whether you can stop safely when a person or cyclist appears.
A structured routine works better than random repetition:
- Prepare: Choose a safe location and inspect the junction before moving.
- Execute: Keep the vehicle slow, steer progressively and continue scanning.
- Review: Identify whether the weakness was speed, steering, positioning or observation.
- Repeat: Change one variable at a time so you can tell what improved.
Professional feedback is particularly valuable when a learner has developed a habit of looking only at the kerb or turning too late. An accredited instructor can identify the point where control begins to deteriorate, then adjust the exercise before the error becomes automatic. Practising in both manual and automatic cars also makes clear that pedal technique changes, while the safety decision remains the same.
Fast Track Driving Lessons matches learners with DVSA-approved instructors for intensive and semi-intensive tuition across England, Scotland and Wales, including manual and automatic lessons, manoeuvre practice and mock tests. To work on backing around a corner with structured support, visit Fast Track Driving Lessons and choose tuition suited to your transmission, availability and test preparation needs.
Written by Fast Track editorial team.